I have recently been feeling an unladylike hatred toward our entertainment center. I have never liked it but lived with it none the less. It is brown (ew, I dislike brown) and sits way too low under our mounted TV. I was complaining and online shopping when luck brought me inspiration! My mom wanted to get rid of an old dresser from her guest room that was just taking up too much space. Ah ha! No need to pay $200 for a new entertainment center when I can MAKE one!
My version...


A closer look...
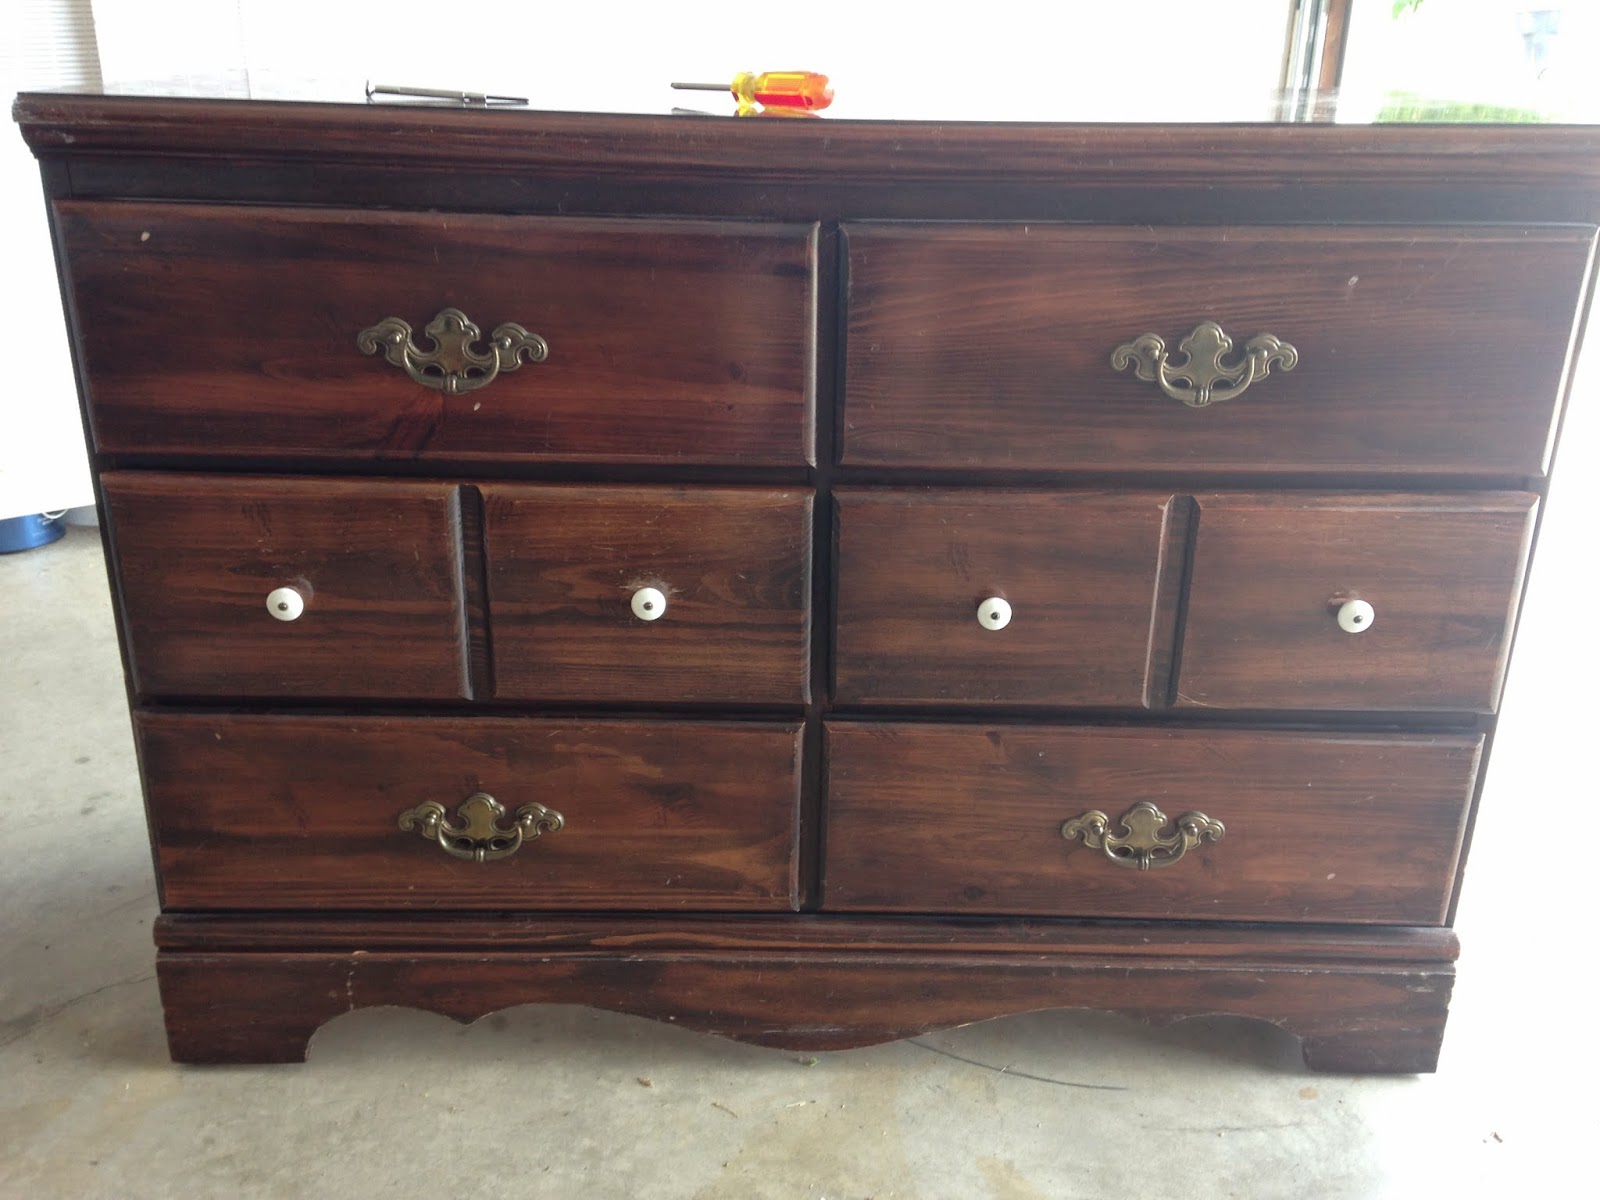
Before

After


Note: This DIY project requires either 1. handy man skills OR 2. a friend with handyman skills. Also, I am listing the materials we used and needed to make this project happen. All dressers are different, so it is possible that you may require more or less than we did.
Materials
- an old dresser that needs re-purposing
- saws-all
- ratchet
- chisel
- measuring tape
- drill
- screws
- doorknob hole drill attachment
- pallet OR plywood
- skill saw
- hammer
- crow bar
- sanding materials (course and fine)
- primer
- paint (hi-gloss) - Note, I chose to do a two-tone design because I wanted white and my boyfriend wanted black. It was a compromise, but I think it really made the inside pop!
- painting supplies (brush, roller, drop cloth)
- new hardware for drawers
Steps
- Step 1: Remove all drawers. Decide on the two you want to keep.
- Step 2: Remove the drawer tracks using the ratchet (for the screws at the back). The tracks on this dresser were glued down, as well, so we used a chisel to get it off. Don't throw these away...you will need them!


- Step 3: Use the saws-all to cut off the front middle piece (this is going to become one big opening)


- Step 4: Remove all of the bottom board from under the drawers. Set one aside for later.

- Step 5: Measure where you want the back holes for cords. Make the holes using the doorknob hole attachment piece (or anything you have that can make a hole)

- Step 6: Take the old door tracks and attach them with the drill and screws to the underside of the front pieces, running from front to back. These pieces are going to hold up the pallet boards for you shelving.


- Step 7: Cut one if the bottom boards you set aside in half. Place one half under each drawer area.

- Step 8: Pull the pallet apart using the hammer and crow bar.

- Step 9: Measure, then cut the pallet boards to fit inside the dresser as bottom shelves. They should be snug so they will stay in place. Also cut the boards to fit into the inner side of the big cubby.
- Step 10: Sand all of the pallet boards you plan on using with fine sand paper.

- Step 11: Lay the pallet pieces down in the dresser. Screw them into place if necessary (the top pallets in my dresser were so tight that no screwing was necessary.


- Step 12: For the inner side pieces, my dad used a chisel to "notch" the board (we used a single piece of plywood because we were out of pallet wood) so they fit right into the space. If that is not an option, find a place to screw those boards in. They should go all the way to the top so as to support the top pallet boards.

- Step 13: Sand the entire dresser using coarse sand paper

- Step 14: Remove the old hardware and sand the drawers.
- Step 15: Put one coat of primer on the dresser (I suggest using a small roller). Wait one hour, then apply a second coat.


- Step 16: Wait overnight, then apply your first coat of main paint. (I did white, tape, then black)


- Step 17: Wait overnight, then apply your second coat. ( I did black, remove tape, then white). Also, I used a small foam brush for the small nooks and crannies.
- Step 18: Attach your new drawer hardware.

Enjoy!
I give this re-purpose project 5 stars. It came out perfectly and I love it! A big thanks to my super handy Pops who made this happen!
This is excellent!
ReplyDelete