Tuesday, August 12, 2014

DIY dog toy - I saw it on Pinterest


8/12/2014

Since I have been doing all of these DIY t-shirts, I had a ton of t-shirt scraps that needed a project. I saw this awesome idea for a dog toy on Pinterest and thought I would try. It was WAY simple and my dog loved it!! Add a few treats in the middle to make it even more fun!

My version


Pinterest version


Materials
- T-shirt or fabric scraps
- fabric scissors
- dog toy (as shown above)


Steps
- Step 1: Take out your fabric scraps. Cut them into strips. I did a variety of sizes, varying from 1-4 inches wide and 5-24 inches long. My dog really seemed to like the long ones because they requires a few tugs to take out. 


- Step 2: Stuff the strips into the ball. I had no rhyme or reason about how I stuffed them in. Add treats in the middle as wanted!!

So simple and practical for your furry friends!! A 5 star DIY project!

Wednesday, August 6, 2014

DIY NO SEW Tank! - I saw it on Pinterest

8/6/2014

This is a super quick and easy tank that is a great for summer!

My version


Pinterest version


To make this bomb-diggity tank, follow the steps found HERE on the wonderful Wobi Sobi website. 

Note: The sides of my shirt were way too baggy for my taste, so I simply pinned, then sewed a seam down the side to bring it in a bit.

Sunday, August 3, 2014

Consignment store GOLD

8/3/2014

I struck gold this week at my favorite local consignment boutique, Deja Vu In A Dress. I walk into the door and the wonderful owner, Colleen, tells me I have $77 in credit! Wowza! A hint to anyone who gets rid of their clothes via Goodwill....STOP! Find a wonderful consignment shop and make your clothes go far. I now have some fabulous new choices for this Fall's wardrobe....can't wait! Hallelujah for livin' the thrifty life...


MY stuff:


Not pictured, but also purchased: 1 maxi dress, 2 tshirt dresses, one pair of clog shoes, one long sleeve shirt (these items were for my Mom, Sister, and Grandma...they definitely put us over our $77 but not by much considering the crazy number of clothes/shoes we got!)

Friday, August 1, 2014

DIY End Table Re-purpose ---------> Coffee table!

8/1/2014

I have come to find that my best DIY projects are inspired by my annoyance with current situations. For example, I hated my entertainment center, so voila! I made a new one. I similarly felt aggression towards our "coffee table," which was actually just two end tables pushed together. They were brown (ew) and came from a garage sale for $10 like 3 years ago. After the dresser/entertainment center worked out so well, I decided it was time to update my end tables and make them a real coffee table!

My version

AFTER


BEFORE


Materials
- two old end tables
- skill saw
- measuring tape
- pencil
- hammer/nails OR nail gun
- pallet wood OR plywood
- sand paper (course)
- primer
- paint
- paintbrushes
- felt circles for the bottom

Steps
- Step 1: If your end tables are higher than you would like for your coffee table (I read that coffee tables should average about 16in - 22in tall and mine was higher than that), use the measuring tape and pencil to mark the legs where you will cut. Make sure you double check your measurements and measure from the TOP just in case your tables aren't even, like mine.

- Step 2: Use the skill saw to saw off the unwanted ends.


- Step 3: Measure the top of your coffee table. Add about 1 inch all the way around.


- Step 4: Cut your plywood or pallet to match this measurement. Note: I did not have pallet wood, so I took a piece of plywood and cut it into four pieces to simulate a pallet look. (When I say "I," I mean my handy man, of course).


- Step 5: Sand your plywood or pallet.


- Step 6: Put the pieces on top of the two end tables. Check to make sure everything is square and even. Use the nail gun to attach the pieces. Make sure that you are nailing into where the legs are!


- Step 7: Sand the edges again to make sure it is very smooth.


- Step 8:  Sand the existing end tables.

- Step 9: Put a coat of primer on everything. Wait 1 hour and add another coat.


1 coat

2 coats

- Step 10: Put two coats of paint on your piece. Notice that I did a two-tone look to match my entertainment center. If you choose to do the same, paint the entire bottom first, wait for it to dry, tape around the edge of the table, and then paint your two coats on the top. I actually originally planned on doing all black, but changed my mind. SO there are about 8 coats of primer/paint on the top of my table! Moral of the story, if you make a wrong choice it IS fixable!


Cat photo bomb
Step 11: Place the felt rounds onto the bottom of the legs. We nailed mine in so they aren't going anywhere! (Notice that I did this earlier in the process, but it can actually be done at anytime).


I love how this looks and it really rounds out my living room nicely. I added my DIY chevron serving tray to the top to match my yellow theme and I am loving it! 5 stars :)

Wednesday, July 30, 2014

DIY Chevron Serving Tray - I saw it on Pinterest

7/29/2014

Like everyone else on Pinterst, I pin a ridiculous number of things I will likely never do but that look super cool. I saw this adorable chevron tray and pinned it for the "future." But imagine my surprise when my cousin commented on it and asked me to make her one! Well, now I had a reason to try it out! And I am so glad I did, because I think it is one of my favorite things I have done. She chose the colors that she wanted, and I think they turned out great. Want one? Let me know!! :)


My version


Pinterest version:


Materials
- Wooden tray...look HERE
- Ruler
- Pencil
- Acrylic paint (in any color you choose)
- Paint brushes
- Blue tape

Steps
- Step 1: Use this basic tutorial for drawing a chevron patter on your tray. Make sure you have decided which way you want your chevron stripes to face!


- Step 2: Use the blue tape to tape around the bottom edge of the tray to protect it from your "pop" color.


- Step 3: Paint your "pop" color all the way around. Because of the nature of the acrylic paint, you should only need one even coat and it dries very quickly. Once finished, immediately go wash your brush with water and dish soap. The paint should come out easily and be ready for the next color (it is perfectly fine to paint with a damp brush!)


- Step 4: Wait for the pop color to dry, then remove the tape on the bottom of the tray. Now put the blue tape around the edge of the sides of the tray to protect your "pop" color from the chevron stripes.

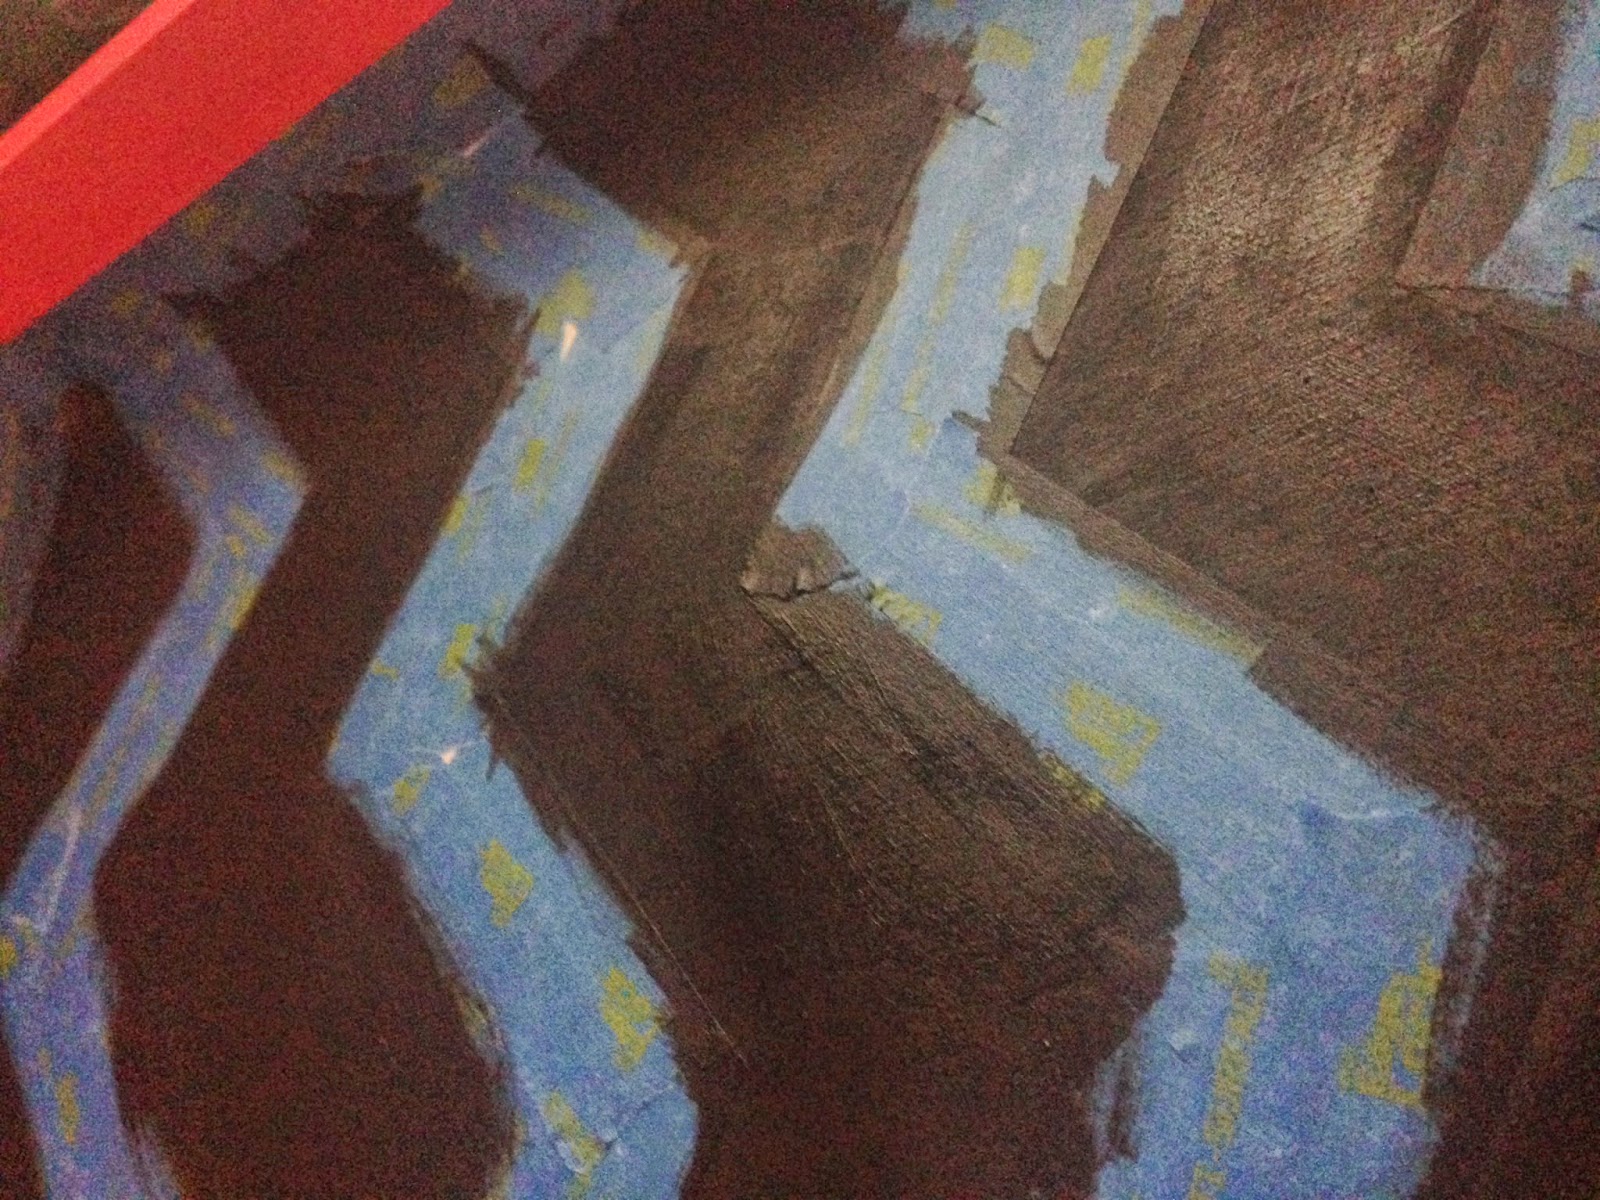
- Step 5: Place pieces of blue tape right along the chevron stripe lines, alternating every other stripe. This is part that takes the most patience! Make sure you are really pressing down the edges of the tape to avoid seepage.


- Step 6: Choose one of your chevron colors and paint. When painting over the tape, try to match your brush strokes with the angle of the tape, running along beside/on top of it...try not to push paint against it because that will encourage more seepage!


- Step 7: Wait for that to dry (30 min). Remove the tape on the bottom of the tray, but leave the tape along the sides. Now tape over the black stripes, being as precise as possible over the lines. Don't worry, the tape will not take over the pain color.


- Step 8: Paint your other chevron color.


- Step 9: Remove all of the tape and use the paintbrush to fix any small blemishes.


Enjoy!!!


This is without a doubt a 5 star DIY project. I love the way it turned out!