I have come to find that my best DIY projects are inspired by my annoyance with current situations. For example, I hated my entertainment center, so voila! I made a new one. I similarly felt aggression towards our "coffee table," which was actually just two end tables pushed together. They were brown (ew) and came from a garage sale for $10 like 3 years ago. After the dresser/entertainment center worked out so well, I decided it was time to update my end tables and make them a real coffee table!
My version
AFTER


BEFORE

Materials
- two old end tables
- skill saw
- measuring tape
- pencil
- hammer/nails OR nail gun
- pallet wood OR plywood
- sand paper (course)
- primer
- paint
- paintbrushes
- felt circles for the bottom
Steps
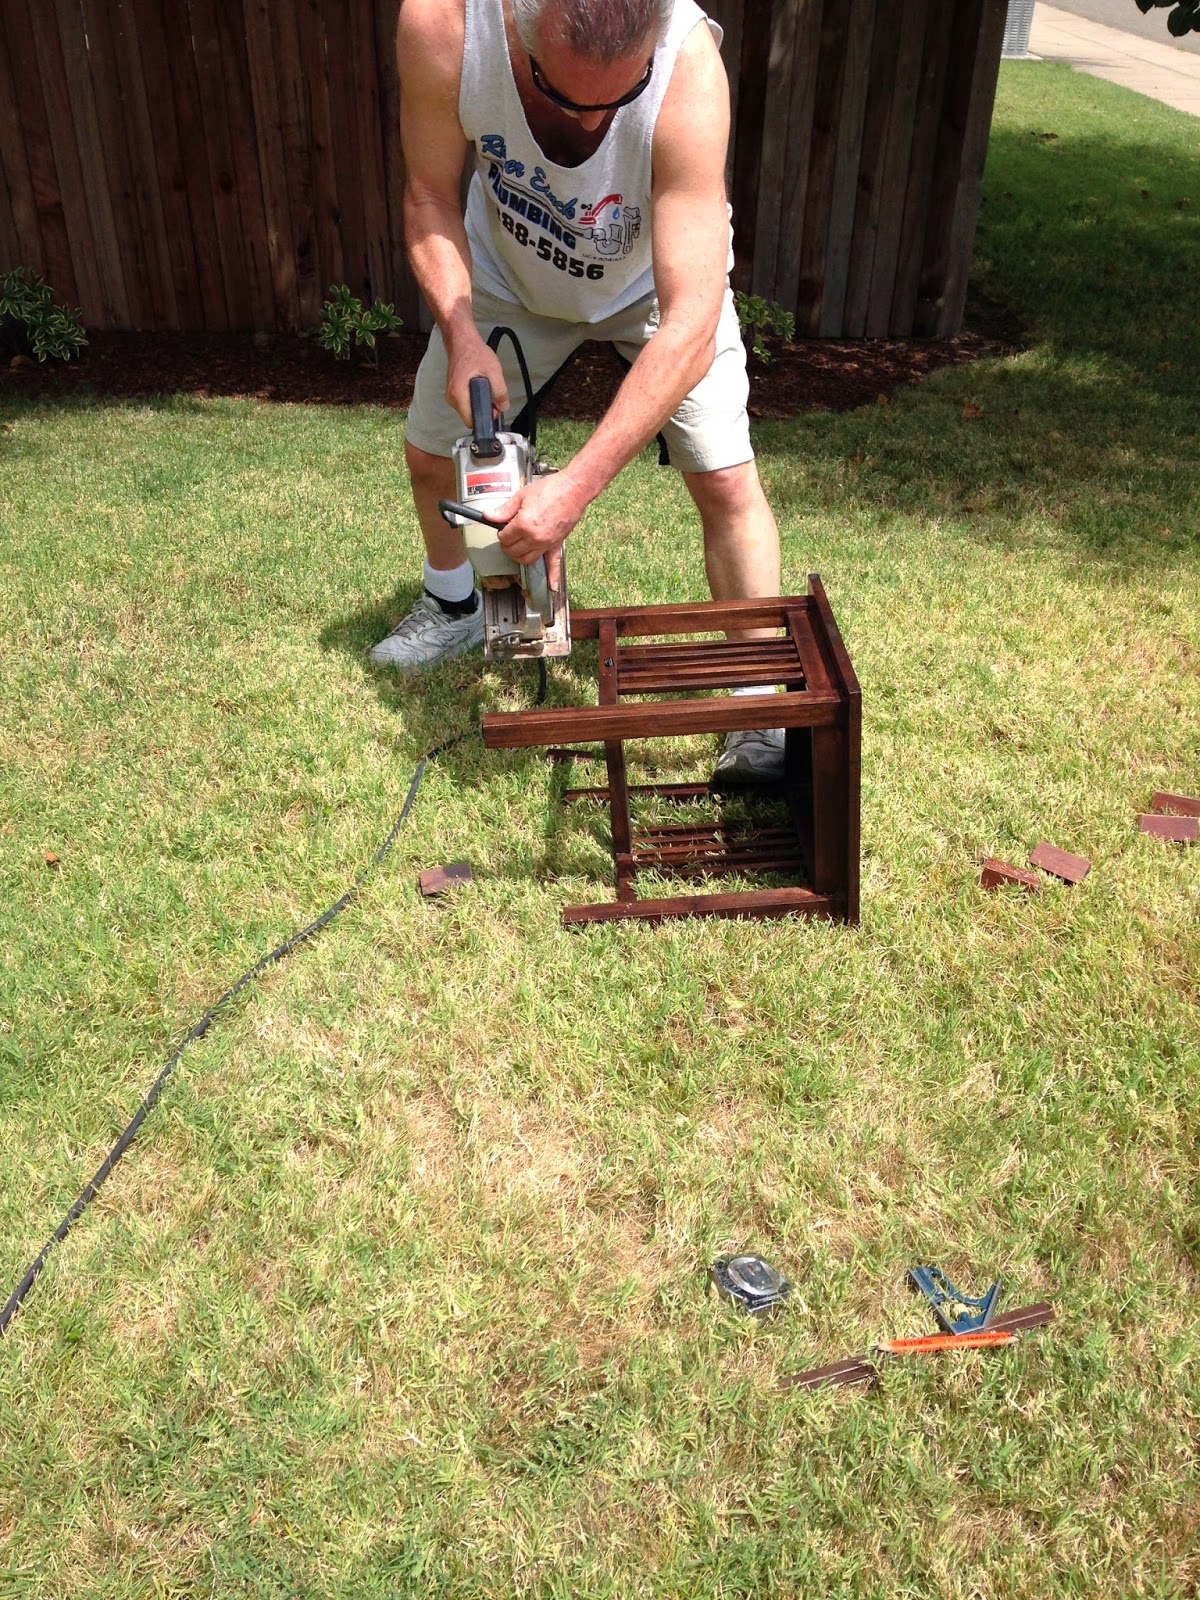
- Step 1: If your end tables are higher than you would like for your coffee table (I read that coffee tables should average about 16in - 22in tall and mine was higher than that), use the measuring tape and pencil to mark the legs where you will cut. Make sure you double check your measurements and measure from the TOP just in case your tables aren't even, like mine.

- Step 3: Measure the top of your coffee table. Add about 1 inch all the way around.
- Step 4: Cut your plywood or pallet to match this measurement. Note: I did not have pallet wood, so I took a piece of plywood and cut it into four pieces to simulate a pallet look. (When I say "I," I mean my handy man, of course).


- Step 5: Sand your plywood or pallet.

- Step 6: Put the pieces on top of the two end tables. Check to make sure everything is square and even. Use the nail gun to attach the pieces. Make sure that you are nailing into where the legs are!


- Step 7: Sand the edges again to make sure it is very smooth.

- Step 8: Sand the existing end tables.
- Step 9: Put a coat of primer on everything. Wait 1 hour and add another coat.

 |
| 1 coat |
 |
| 2 coats |
- Step 10: Put two coats of paint on your piece. Notice that I did a two-tone look to match my entertainment center. If you choose to do the same, paint the entire bottom first, wait for it to dry, tape around the edge of the table, and then paint your two coats on the top. I actually originally planned on doing all black, but changed my mind. SO there are about 8 coats of primer/paint on the top of my table! Moral of the story, if you make a wrong choice it IS fixable!


 |
| Cat photo bomb |

I love how this looks and it really rounds out my living room nicely. I added my DIY chevron serving tray to the top to match my yellow theme and I am loving it! 5 stars :)
No comments:
Post a Comment