4-18-2014
Pinterest versions:


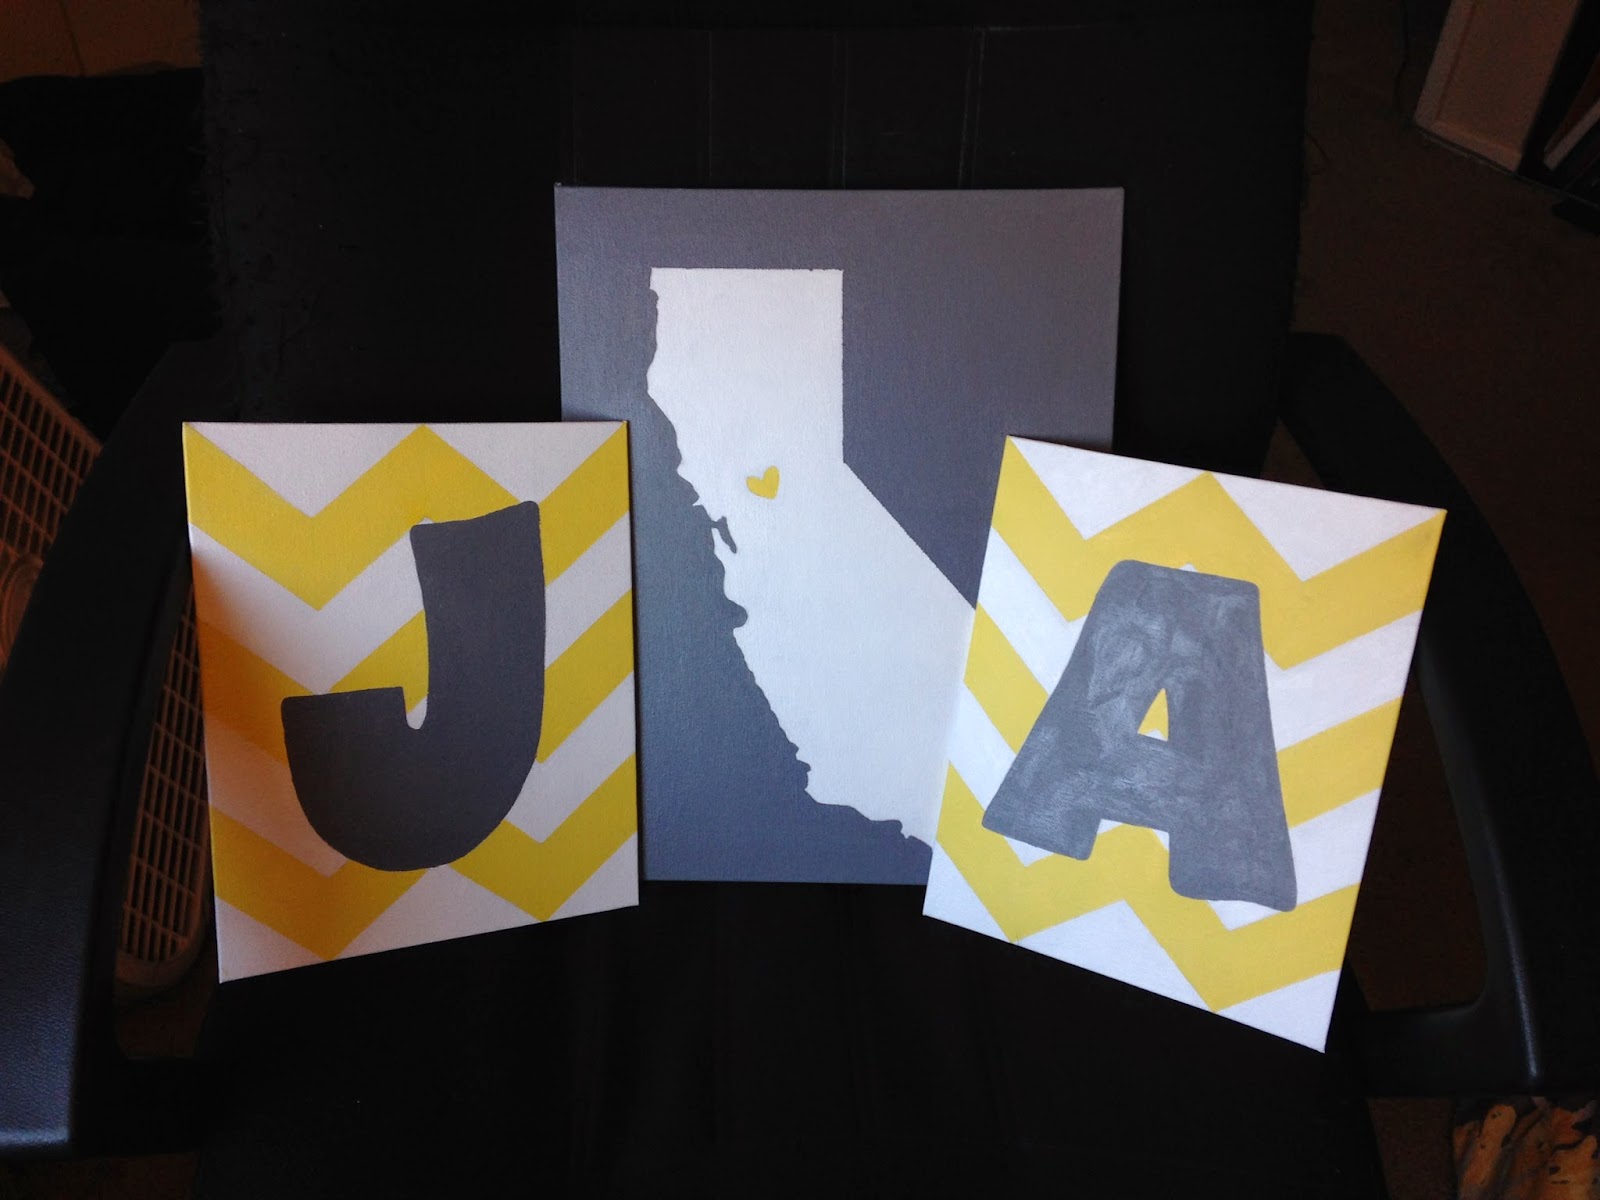
My version:

I've been looking for something to spruce up my bedroom wall for quite awhile when I scrolled past this little baby on Pinterest. I immediately fell in love with the letter over the chevron and decided to go for it. Before I started, I knew I also needed something else to pull it all together, so I looked through my old pins, and found this link I had pinned awhile ago. Aha! Idea complete. Now for the actually DOING...
Materials
For this project, I exclusively used things I had laying around the house...
- Canvas board (these can be bought in packs and are much cheaper than regular canvas)
- Pencil
- Printer/Paper
- Scissors
- Ruler
- Blue painter's tape
- Acrylic paint in the colors of your choice
- Paintbrushes
- Easel (optional)
 - Command sticky wall sticker things :)
Steps
Step 1: Choose which size canvas boards to use (I used 8x10 for the letters and 11x14 for the CA). On your computer, print out the letters and state you want to use. (You can always hand draw these if you feel so inclined).

Step 2: Trace or draw your shapes onto the center of the canvas. I couldn't figure out how to print the CA big enough, so I drew mine by hand.

Step 3: Draw your chevron. I followed this link on how to make a chevron. Basically you draw a line down the center horizontally. Then draw a line in the middle of those lines horizontally, then do the same things vertically.
Step 4: Use the blue painter's tape to tape off the chevron lines and any straight lines on the letters or the state.

Step 5: I started with white and painted all three canvases white in the areas I wanted it. Acrylic is fast drying, so let it sit for about 1 hour before moving onto the next step.
Step 6: Make sure that the white it dry, then use the painter's tape to tape over the white and any other lines again. Paint the other color in your chevron. Now yours should look a little like this:

Step 7: I completed the rest without using the painter's tape. Because my last color was grey, I was worried the painter's tape would still let some of that dark grey spill onto my lines, so I painted the rest by hand. I used a small, straight-edged brush to finish the edges.
Step 8: Let it all dry for about an hour. Take one of the sticky Command sticker thingies and attach it to the top middle of each picture. Then peel off the other sticky side and attach to the wall of your choosing!

Although the colors don't match AS perfectly as I wanted, I still give this pinterest makeover 5 stars! I love the personalized feel of the art and it adds some lightness to my room!
Thanks, Carrie! Me too!! :D
ReplyDelete