After making the Mother's Day large terrariums, I was convinced that these would be the perfect end-of-the-year gifts for my fellow teachers and staff members. Obviously I could not make each one their own gigantic terrarium for monetary purposes, but I thought a small, personal-sized succulent would be just perfect! I adapted a few different Pinterest ideas into one...
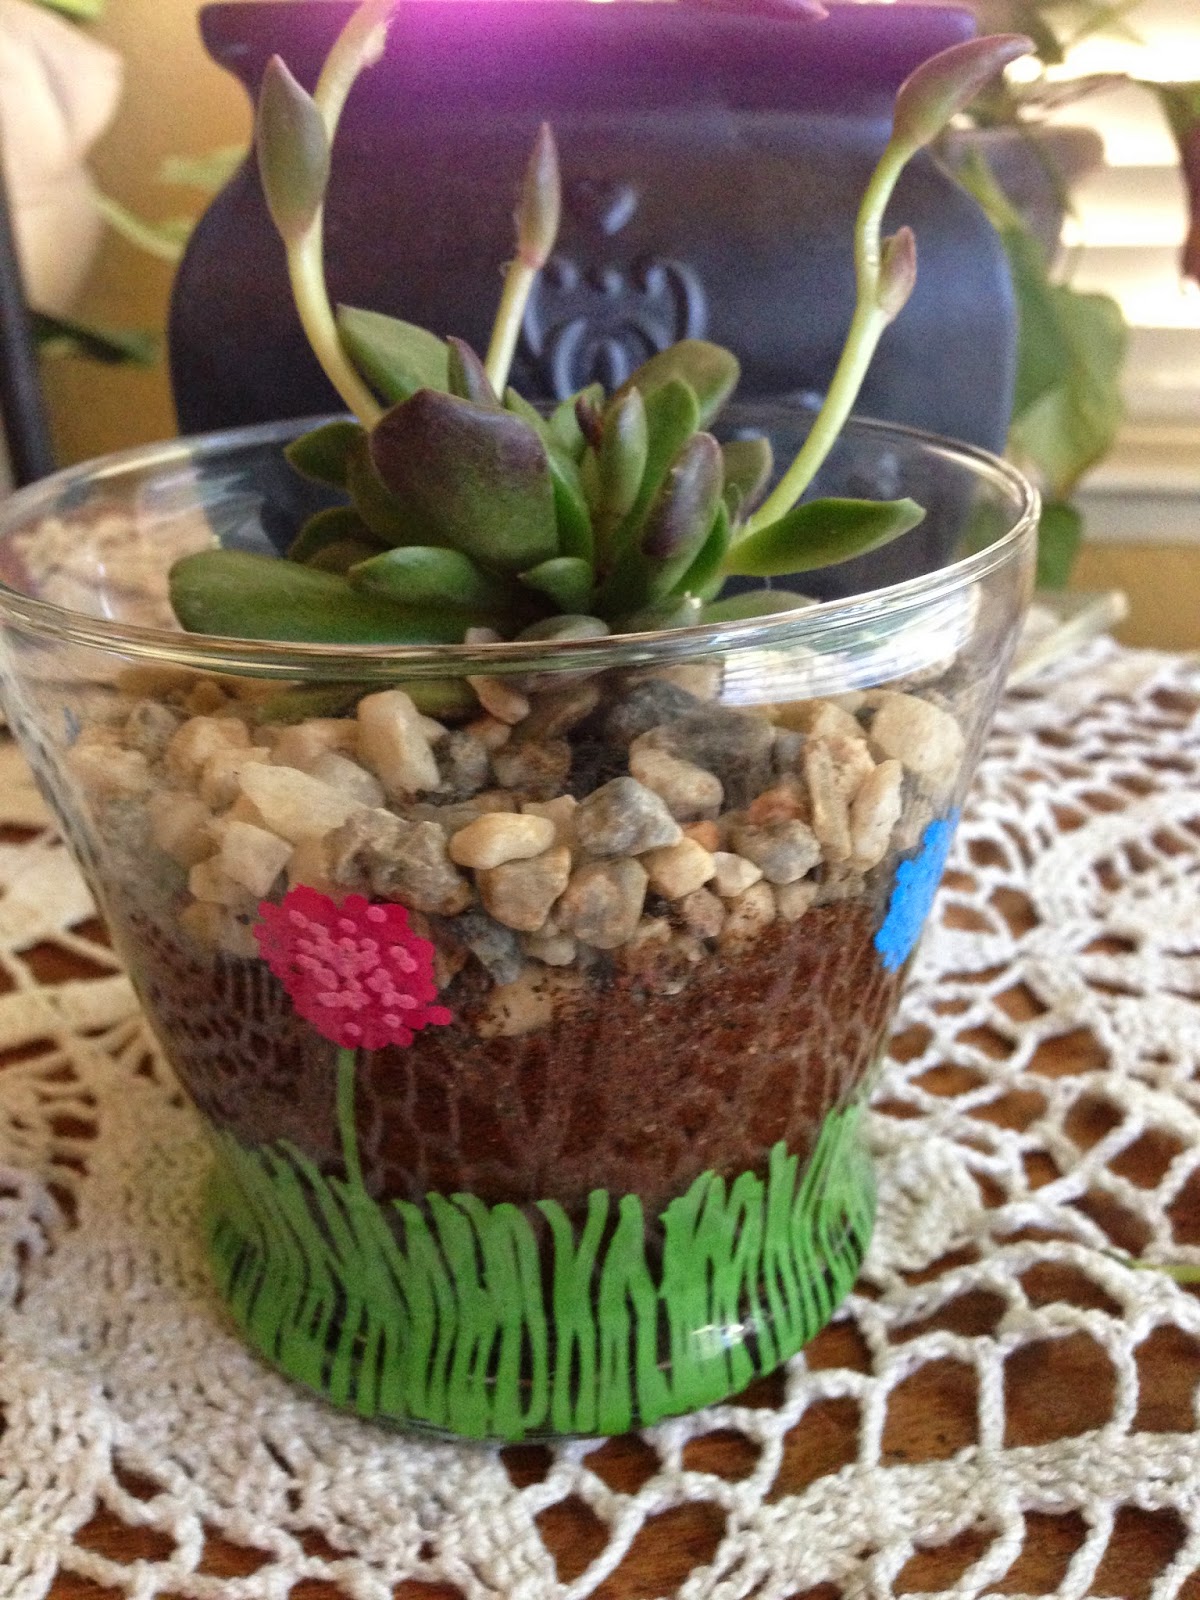
My version

Pinterest versions
 |
| http://lettersfromlala.com/makeyourownsucculentterrarium/ |
 |
| http://www.hometalk.com/3614421/teacup-succulents |
 |
| http://purplebutterflykisses.wordpress.com/2013/10/27/decorated-vases-sharpie-paint-markers/ |
Materials
- clear containers (I found mine at the dollar store in the candle section)
- paint markers/metallic sharpies
- charcoal (found at your local nursery)
- cactus soil
- pebbles
 - small succulents (look for the $1.98 size at your local hardware store!)
Steps
 Step 1: Use windex to clean out your clear container, if necessary.
Step 2: Using the paint markers, make whatever design you fancy on the bottom half of your container.
 Step 3: Make sure that dries completely, then beginning the planting process. Start by pouring a 1/2 inch layer of charcoal across the bottom of your container.
Step 4: Re-plant your succulent directly into the container, on top of the charcoal.

 Step 5: Holding your succulent and covering the top so soil doesn't get into your succulent, pour dirt carefully around the edge of the succulent until the soil is almost even with the top of the pre-planted succulent dirt.
  Step 6: Pour a thin layer of pebbles over the soil, covering completely. Again, use your hand to cover the top of the succulent so no pebbles go into it.
 Step 7: Water, just enough to make the soil slightly damp. Water 1x/week and place in indirect sunlight.
These turned out exceptional! My co-workers were so surprised and happy to receive such a personalized, unique gift. I give this Pinterest redo a big time 5 stars! Here are a few more pictures of the designs and finished products:


No comments:
Post a Comment